gingham style // knotted zipper pencil pouch tutorial
I have a problem keeping track of pencils in my house probably because a certain toddler loves to pull out the eraser and chew on it while he dumps the lead and breaks them all one by one. So whenever I need one for pattern drafting they are so hard to find! I don’t mind sharing most things, but toddlers shouldn’t be playing with mechanical pencils anyways.
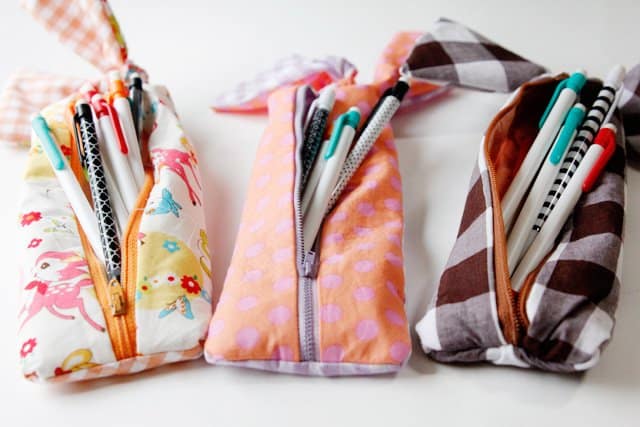
I made these cute pencil cases as an easy solution. First, they are the perfect size for mechanical pencils, I’m sure regular pencils or colored pencils would fit, too. Now I can stash all my pencils in the same place.
This is a basic zipper pencil pouch tutorial but the pattern is a super weird shape to account for the cute bow knots at the top and/or bottom.

The weird shaped pattern makes it a yardage sucker, but it’s worth it! And you’ll have lots of scraps.
The construction of this pouch is pretty complicated. I would definitely recommend sewing up a basic zipper pouch before proceeding. It gave me a headache figuring out how to do this, so I hope that these instructions are clear enough!
You can make this pouch with a bow at each end, or just one end. Follow the dotted line on the pattern piece if you want just one bow end.
Materials:
3/4 yard main fabric
1/2 yard lining fabric
1/2 yard lightweight interfacing
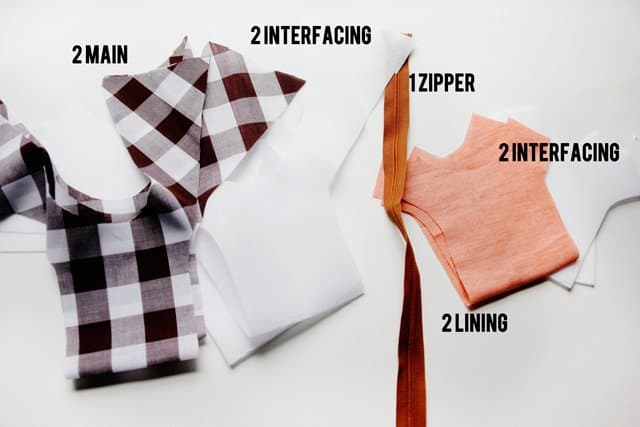
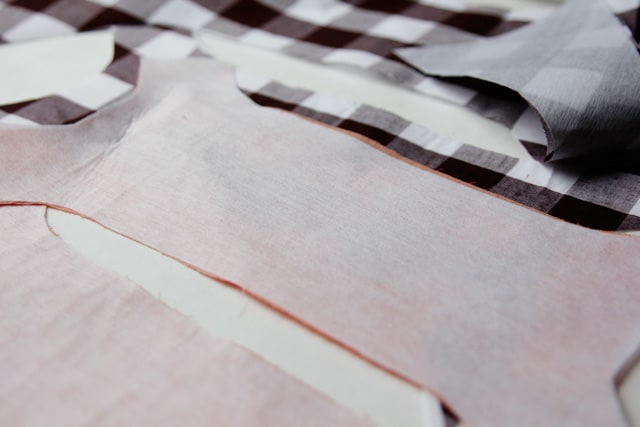
Fuse interfacing to wrong sides of all 4 main and lining pieces.
Cut 1 of the main pieces and 1 of the lining pieces in half. I used a rotary cutter to make this easier. Leave the other pieces whole, this is just for the top to insert the zipper.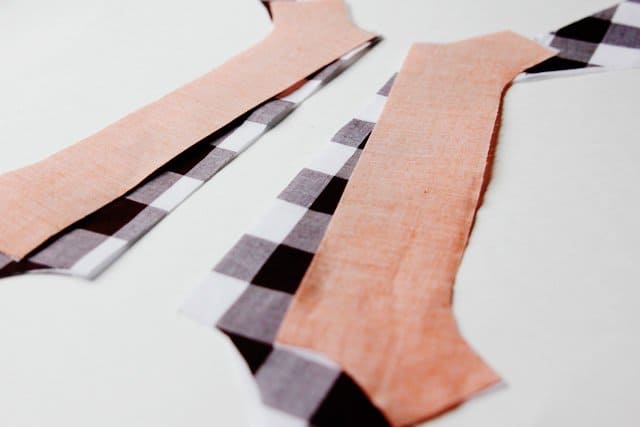
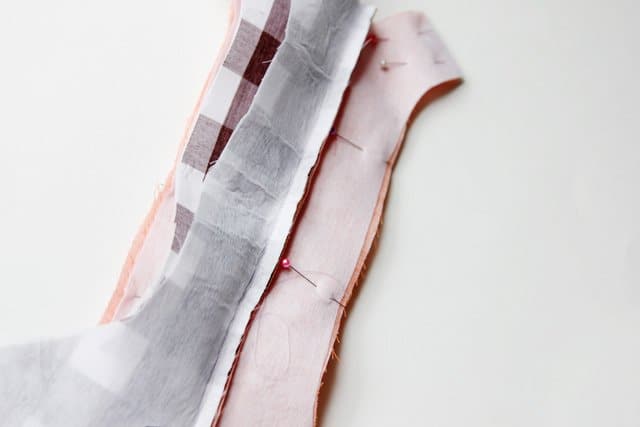
To insert the zipper, lay it face down on one side of the main (gingham) piece. Pin in place and baste. Then put the lining piece on top, face down and sew at 1/4″. Repeat on the other side of the zipper and press when your zipper is inserted.
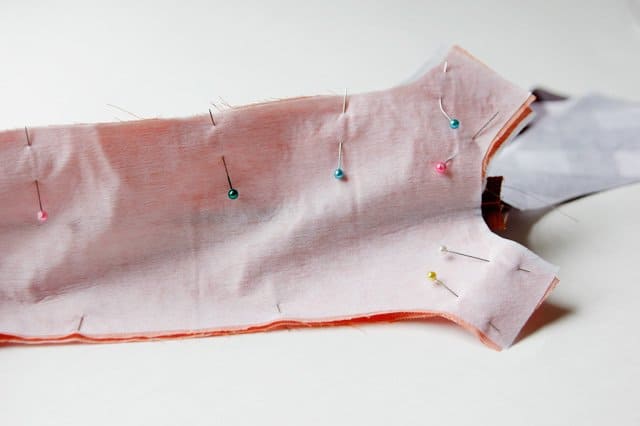
To finish the lining of the pouch, pin the whole lining piece to the lining piece that were just attached to the zipper.
The bottom will look like this:
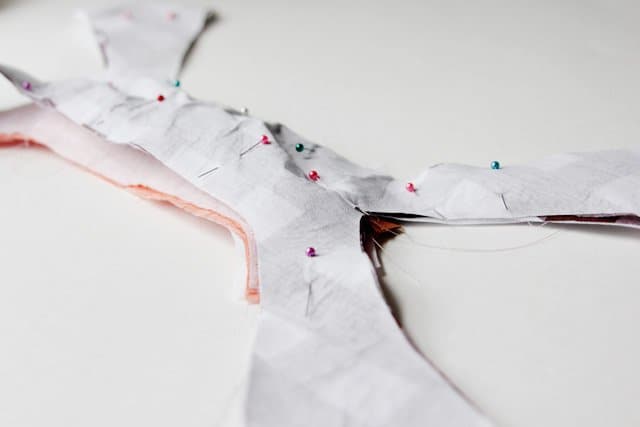
Now sew it up all around. When you get to the zipper part it will be a little tricky. Just pull the main pieces out of the way.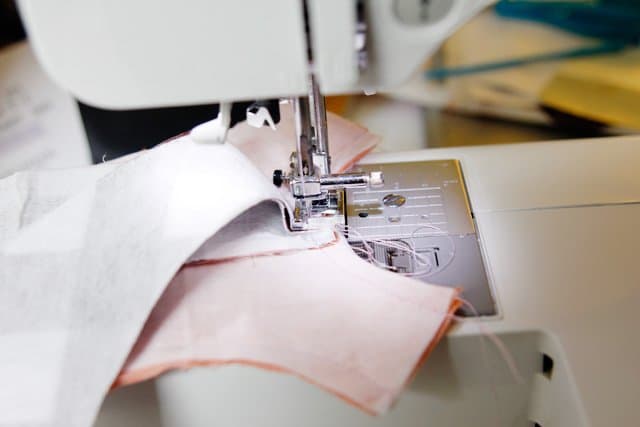
Leave a 2-4″ opening on one of the straight edges to turn later. (I forgot to do this and had to unpick one, so don’t look for the opening in the picture!)
Now turn it over so the lining is on the bottom and the zipper is facing up.
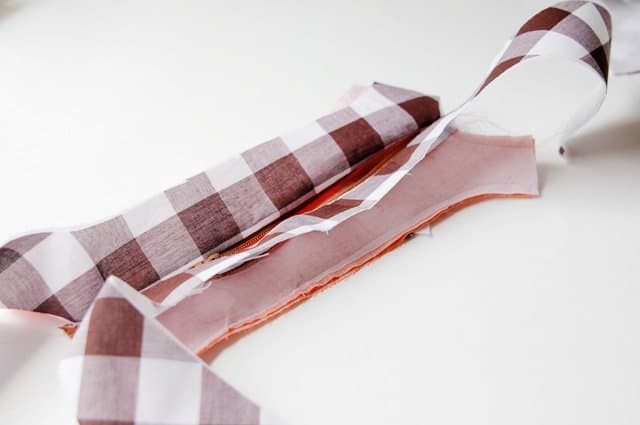
Lay the second main piece on top of the zipper and pin it on. If you have too much fabric, pin a little pleat over the zipper.
Sew it on all the way around. Don’t leave any openings. Sew the lining and main pieces together where indicated below.
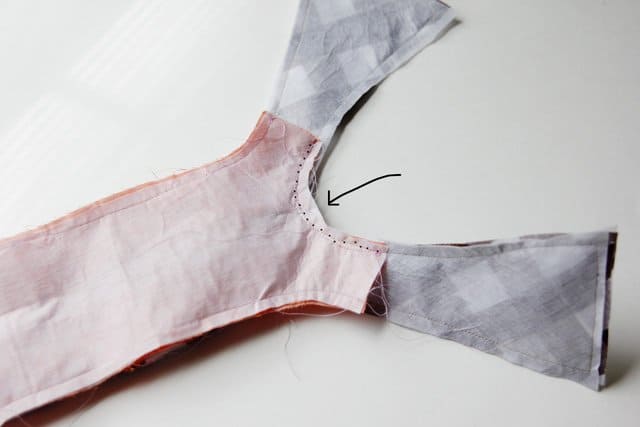
Trim and clip the seam allowance and then turn. The corners will be a little tricky to turn, but you can do it! Push the lining into the bag. Now stitch up the opening you left in the lining with a topstitch or a hand slip stitch.

Tie the corners into individual knots or tie two together to make bows. I prefer the bow method.

If you make the version without the bows on the bottom, they will look like this: Fill it with pencils and you’re done!
Fill it with pencils and you’re done!
credit :
seekatesew
seekatesew